Chapter 1: New Arrivals sees Isaac board the USG Ishimura and attempt to repair the tram system, which is key to the whole game, helping us manoeuvre around the ship. There’s nothing too troubling to anticipate here, but we will be meddling with Stasis for the first time! So, without further ado, here’s our walkthrough of Dead Space Chapter 1.
Dead Space Chapter 1 New Arrivals Walkthrough
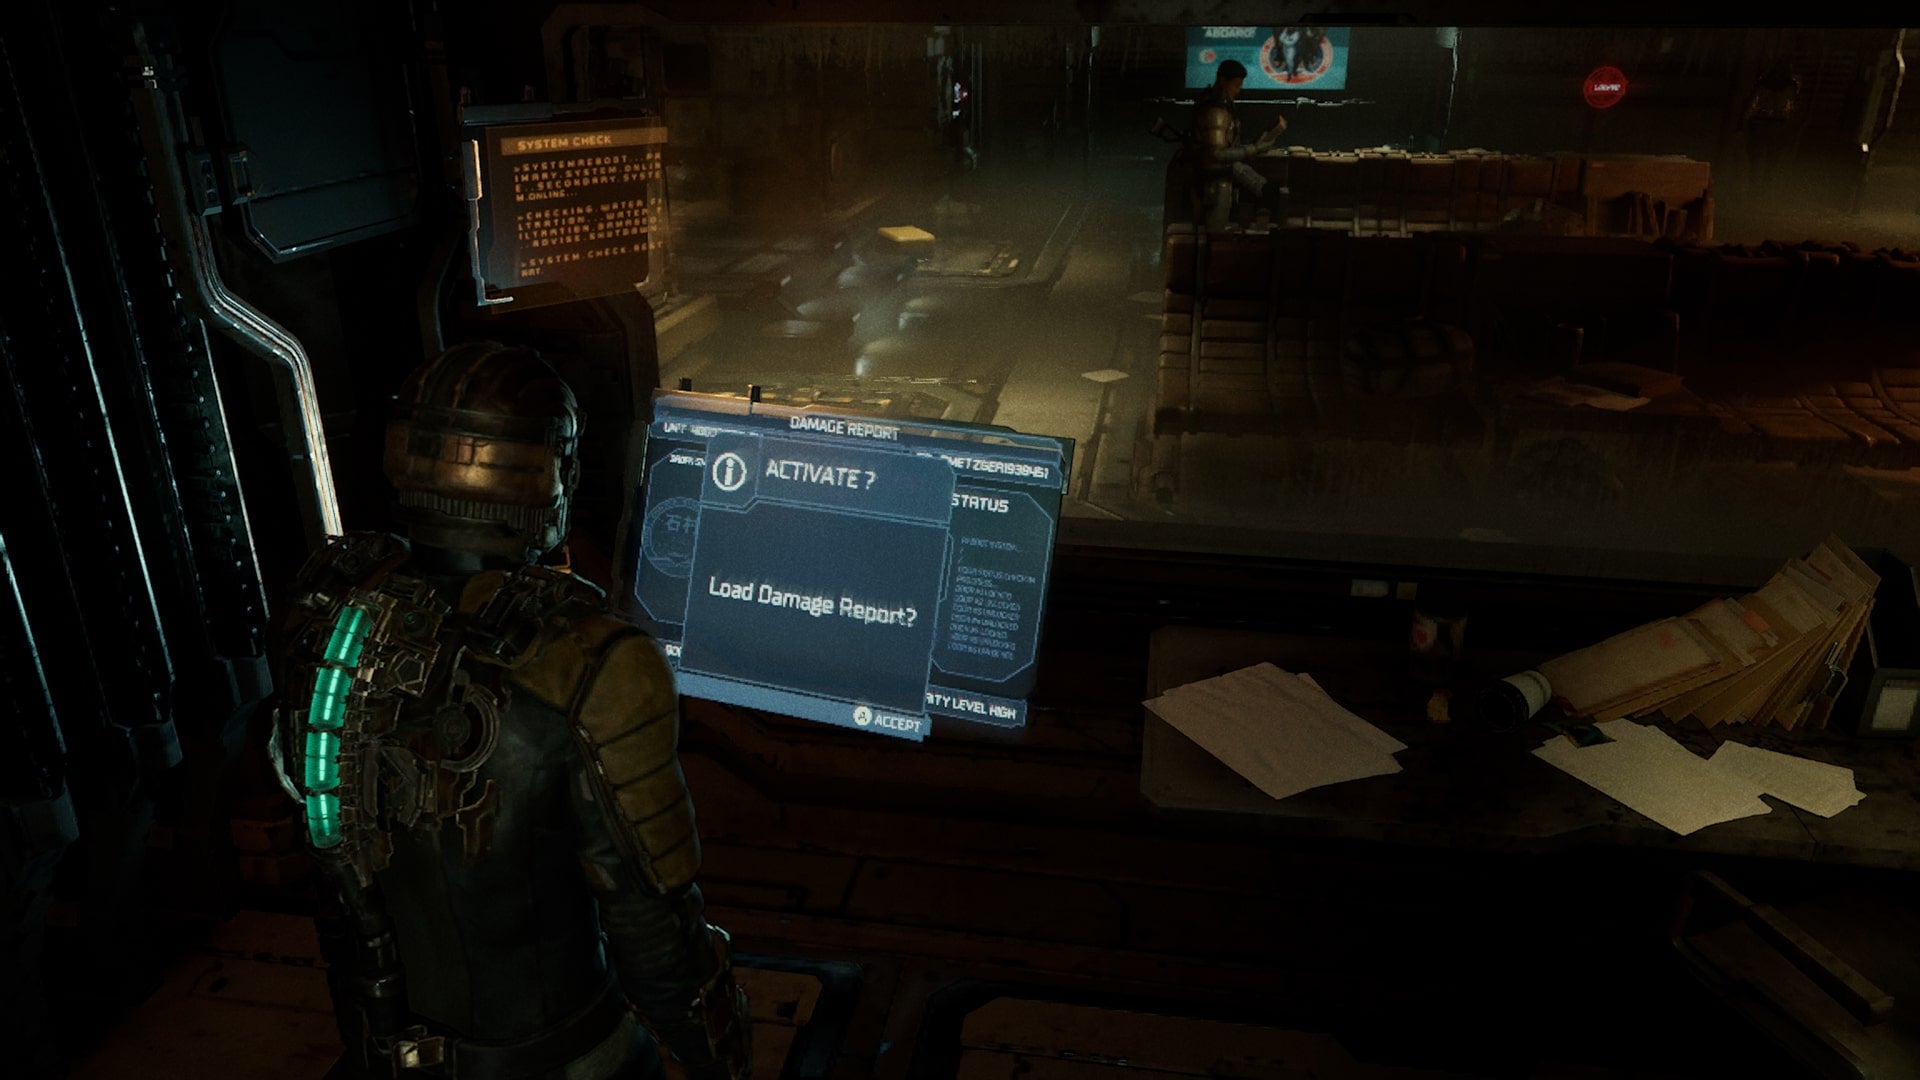
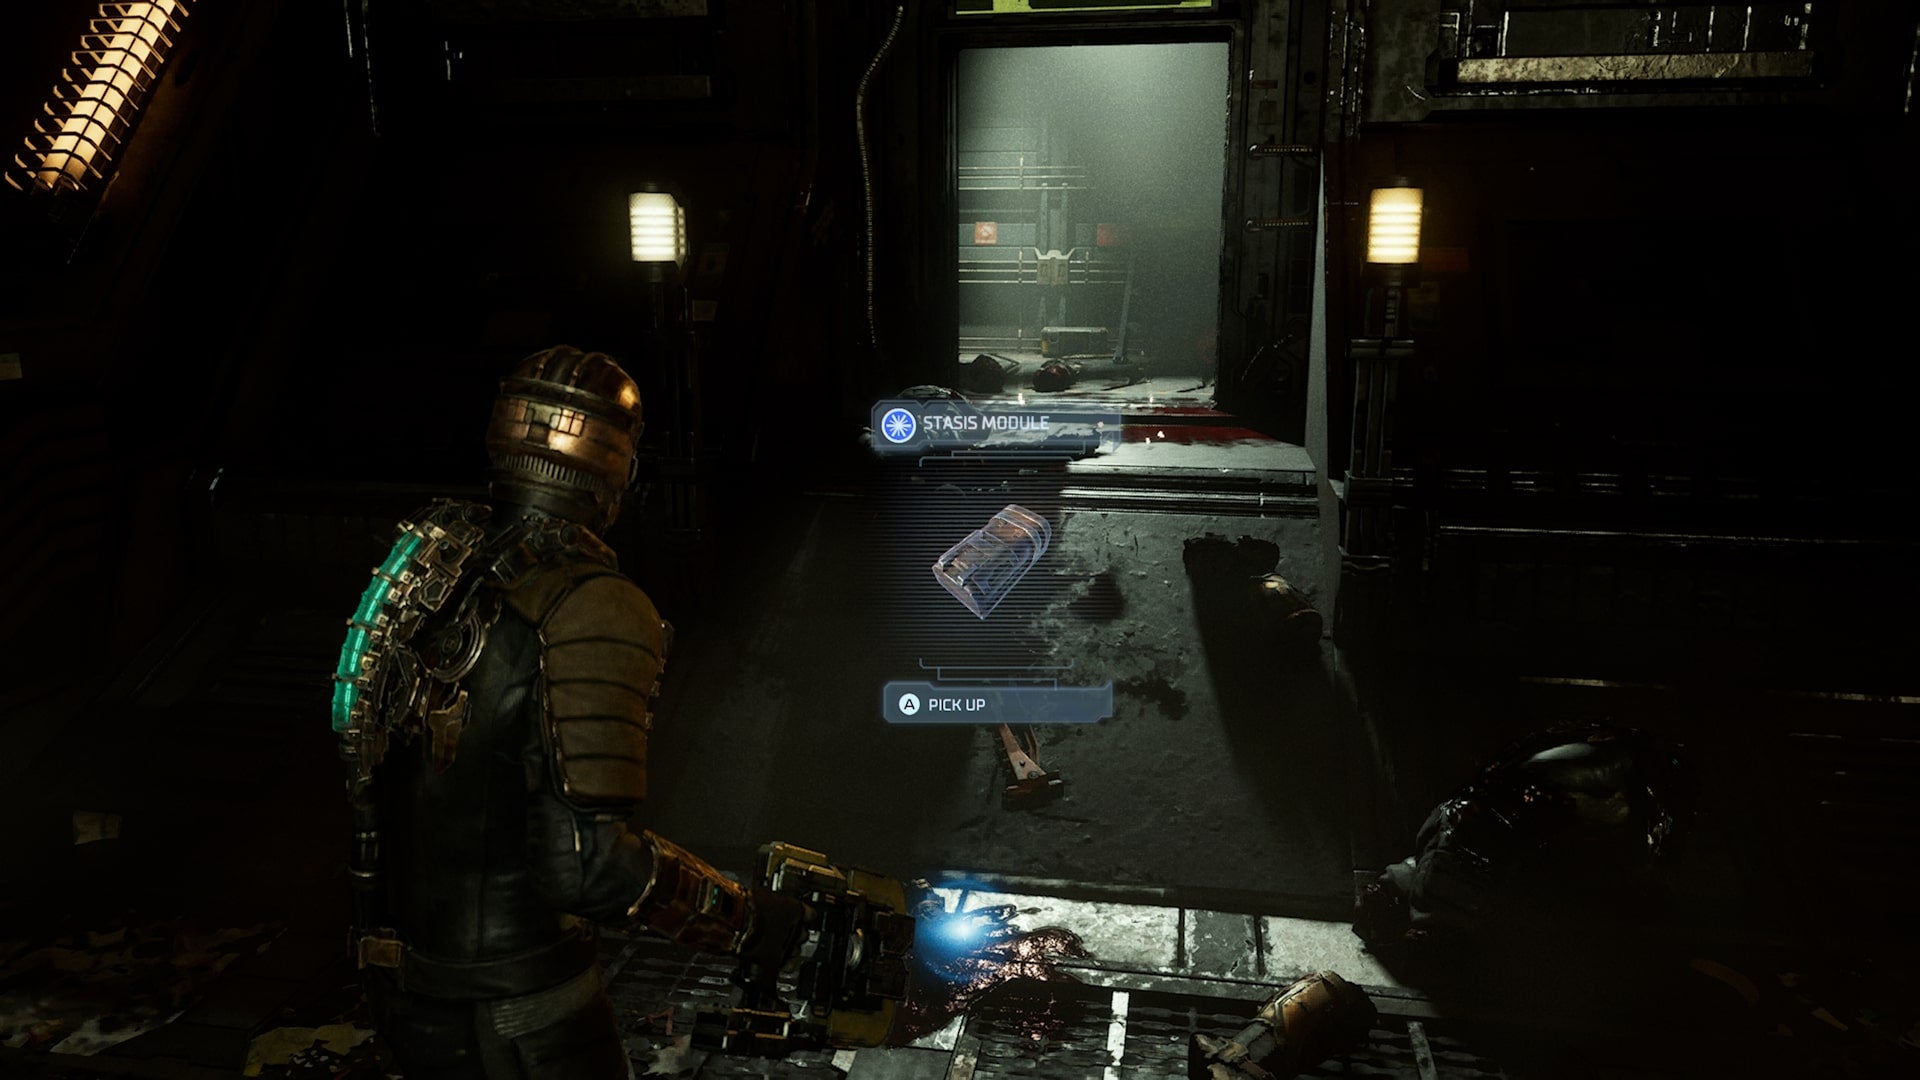
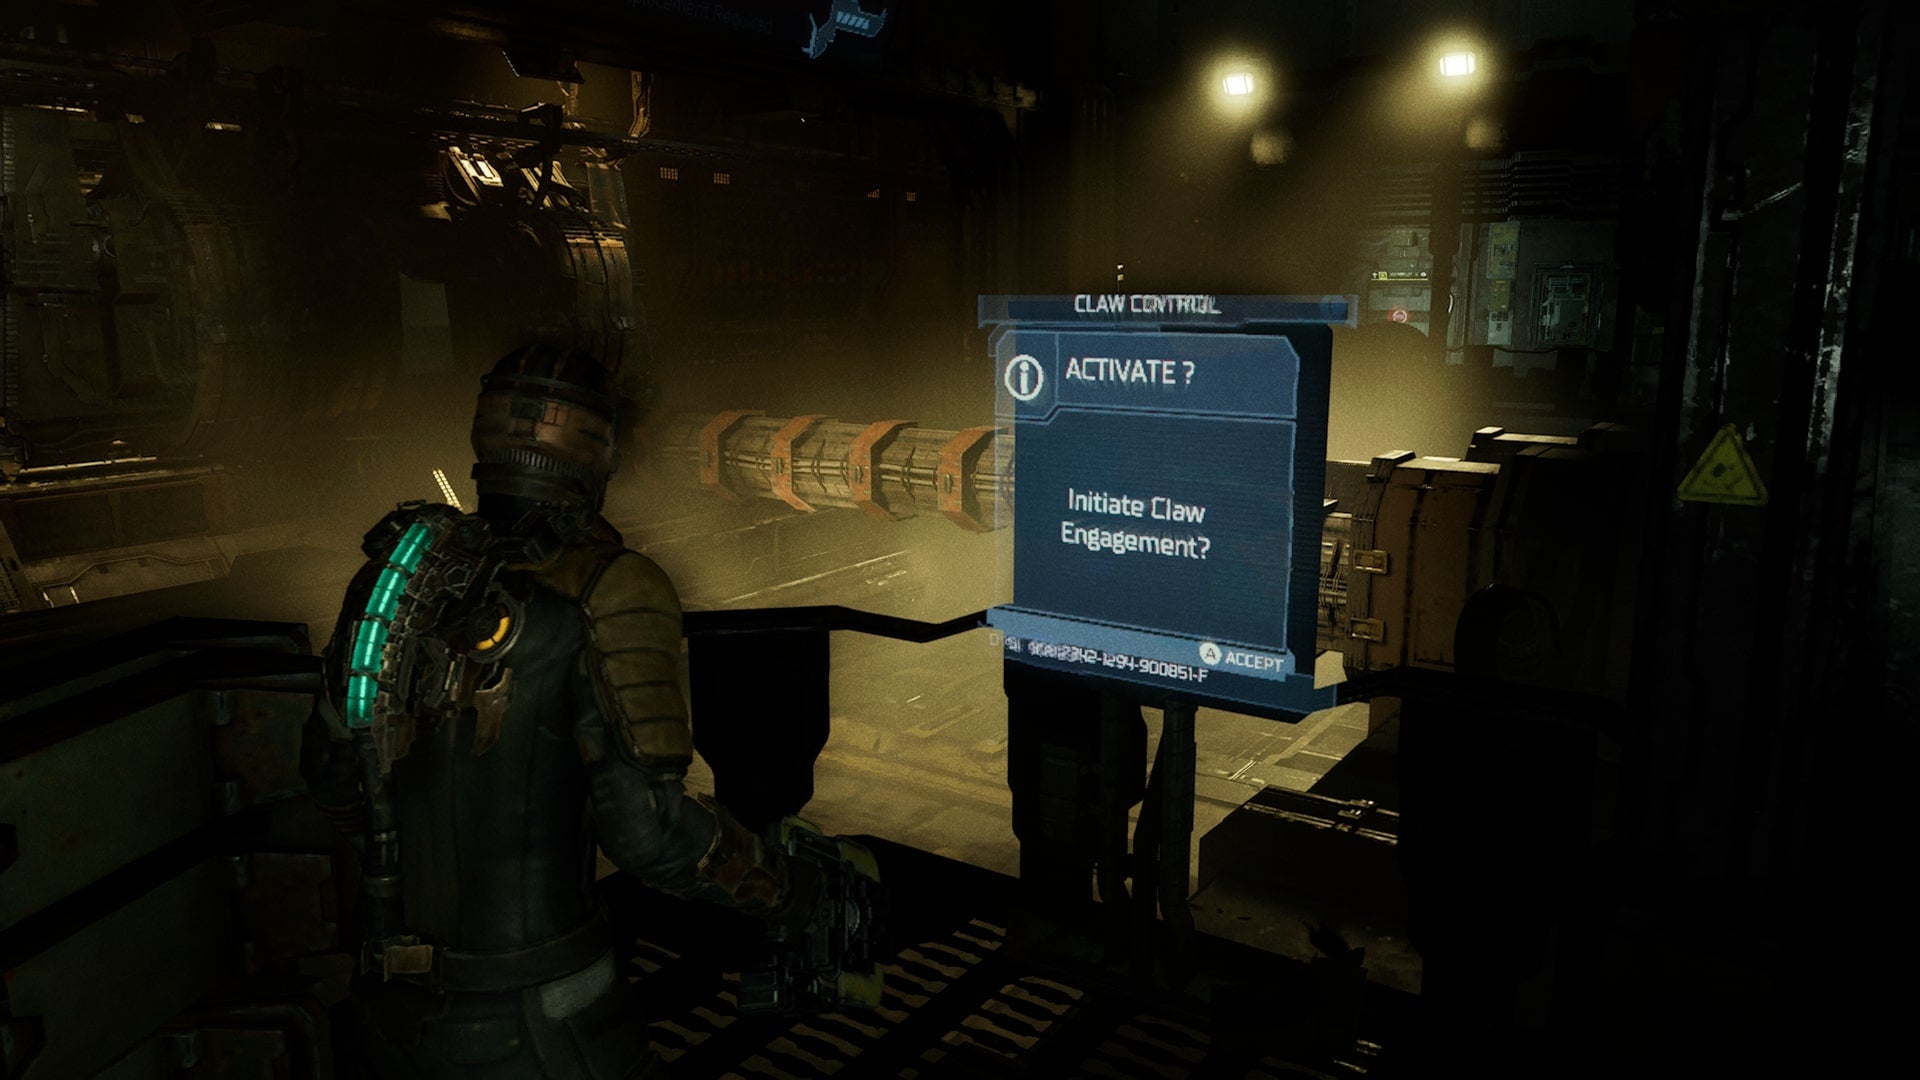
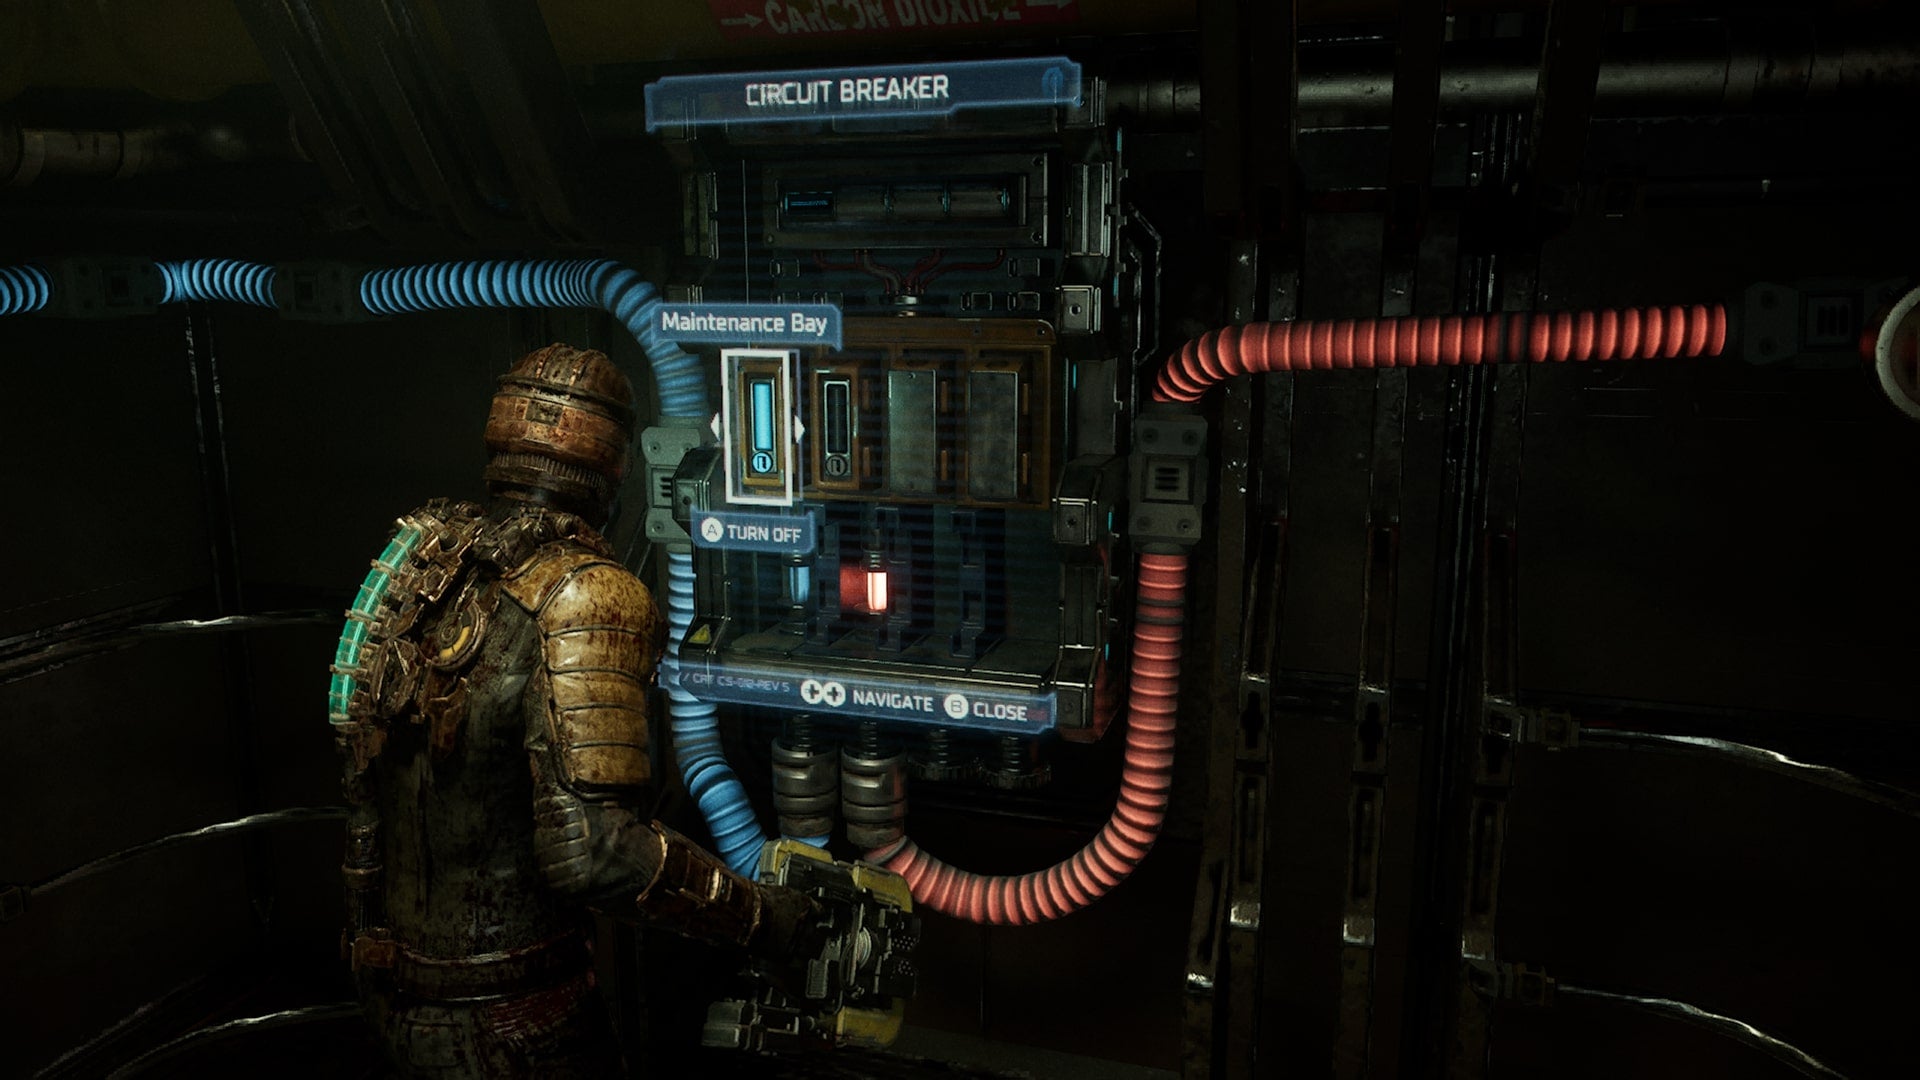
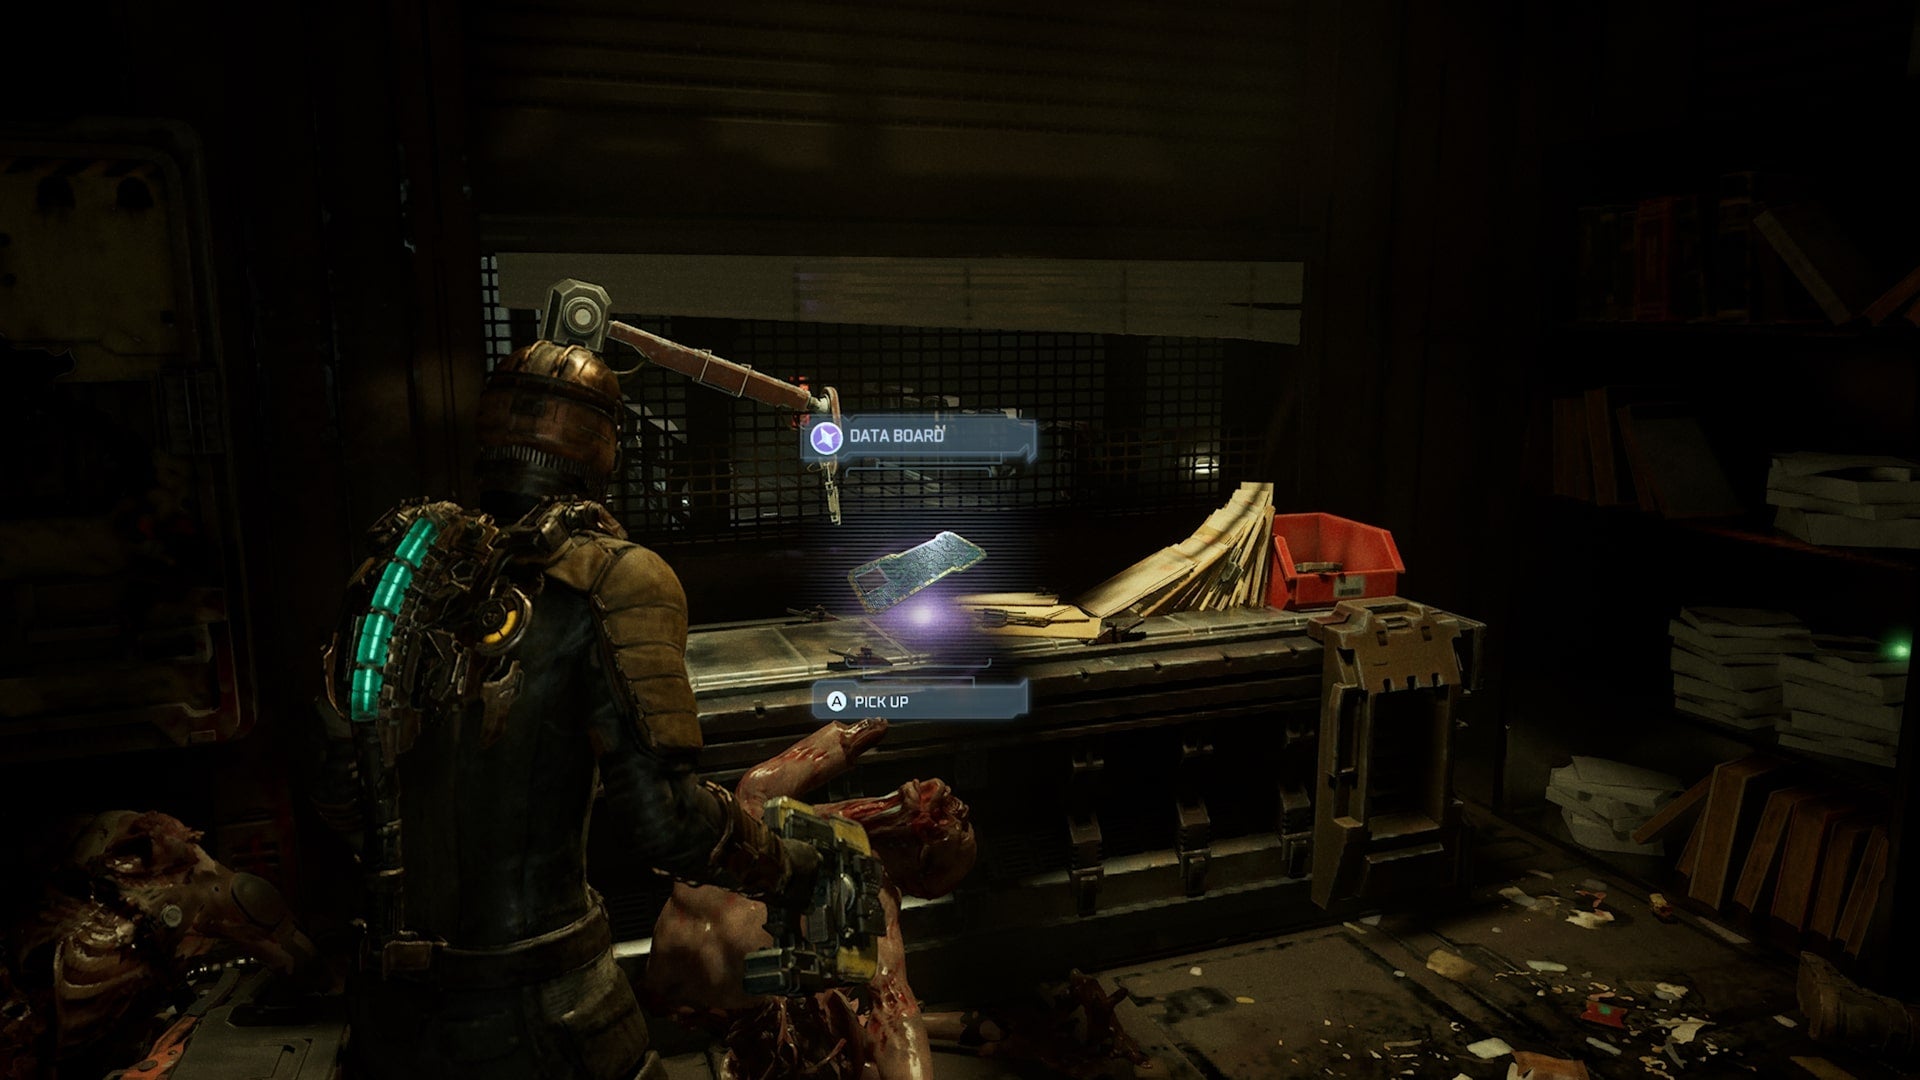
First things first, you’ll want to get to grips with the locator in Dead Space. You can use this nifty tool to see where you need to head next, and we’ll be relying on it a lot in this walkthrough. Using your locator, board the USG Ishimura and activate the Security Console in the Flight Room. Run when you’re prompted to and hop in the elevator. Collect the Laser Cutter in the following room and destroy the electricals beside the door to unlock it. Prepare for enemies, and don’t forget to target their limbs first. Follow your locator to safety, and you’ll eventually wind up in the Tram Tunnel. Here, you’ll unlock Stasis, which allows you to slow enemies and objects for a short period of time. Use this new ability on the upcoming door to slow it and make your way through. Your locator will now lead you to the Tram Repair Room, but stop by the Bathroom along the way. There’ll be enemies here, but also some loot. Once in the Tram Repair Room, loot the area and then open the tram shutters. Following the malfunction, you’ll need to manually attach the two claws on either side of the room. For this, use Stasis on the right claw to keep it engaged. Once this is sorted, return to the control panel in the middle of the room to activate the claws. Now, follow your locator back through the broken door, using Stasis on it again. You’ll eventually wind up in the Cargo and Baggage Room, where you’ll find a circuit breaker down the hall. Choose to power the Cargo Hall Storage, and then head back down the hall and follow your locator into the next room, where you can retrieve some loot. Once again, head back to the circuit breaker and power the Maintenance Bay, then head inside. Follow your locator again and use the elevator, and you’ll eventually reach another circuit breaker. At this one, power both the Maintenance Room and Elevators. Follow your locator back down the elevator again and head into the Maintenance Room, where you’ll find a Bench, and the Data Board you need. Return to the Tram Control Room using your locator and use the Data Board, then call for the tram. After this, you’ll need to follow your locator all the way to the Main Hangar Bay, where you can board the Kellion and run diagnostics. You’ll then need to use your locator again to run and reach the Medical Bay, and once you get there, this marks the end of Dead Space Chapter 1: New Arrivals. Now, it’s time for Chapter 2: Intensive Care.
Dead Space Chapter 2: Intensive Care Dead Space Chapter 3: Course Correction Dead Space Chapter 4: Obliteration Imminent Dead Space Chapter 5: Lethal Devotion Dead Space Chapter 6: Environmental Hazards Dead Space Chapter 7: Into the Void Dead Space Chapter 8: Search and Rescue Dead Space Chapter 9: Dead on Arrival Dead Space Chapter 10: End of Days Dead Space Chapter 11: Alternate Solutions Dead Space Chapter 12: Dead Space
For more on Dead Space, be sure to take a look at our tips and tricks for the remake, as well as our review.